
Samsung Galaxy Tab A 10.1 (2016)


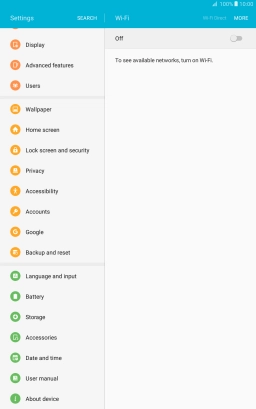
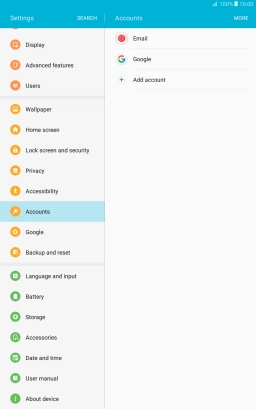
Find "Accounts"
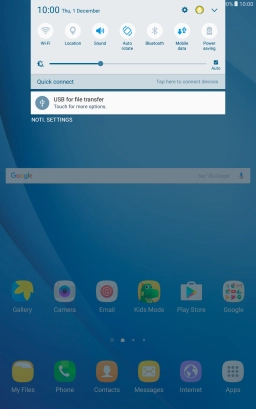
Slide your finger downwards starting from the top of the screen.


Find "Accounts"
Press the settings icon.


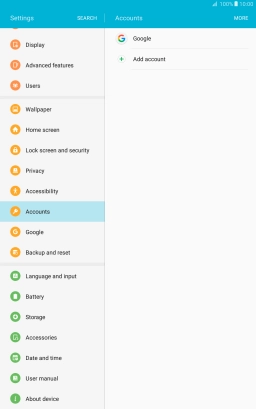
Find "Accounts"
Press Accounts.


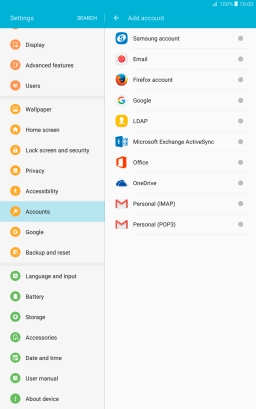
Create new email account
Press Add account.


Create new email account
Press Email.


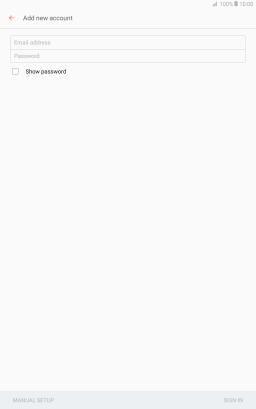
Enter email address
Press Email address and key in your email address.


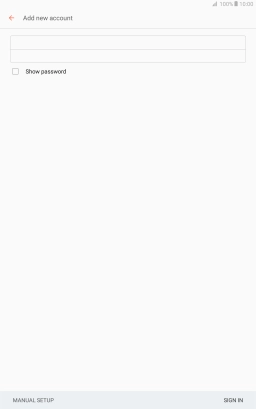
Enter password
Press Password and key in the password for your email account.


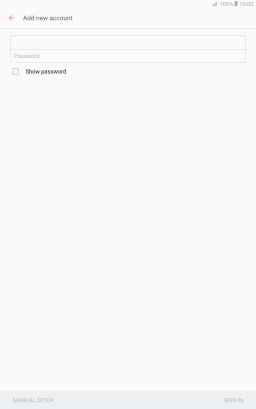
Enter password
Press SIGN IN.


Enter password
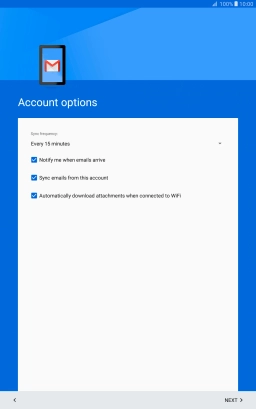
If this screen is displayed, your email account has been recognised and set up automatically. Follow the instructions on the screen to key in more information and finish setting up your tablet.


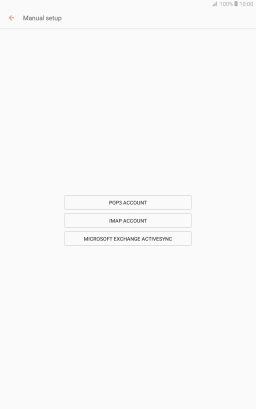
Select server type
Press IMAP ACCOUNT.


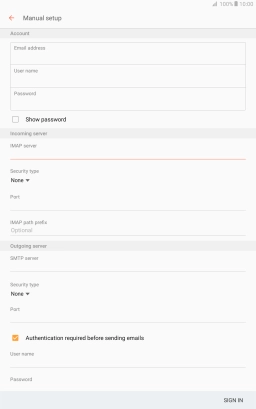
Enter username
Press User name and key in the username for your email account.


Enter incoming server
Press the field below "IMAP server" and key in the name of your email provider's incoming server.


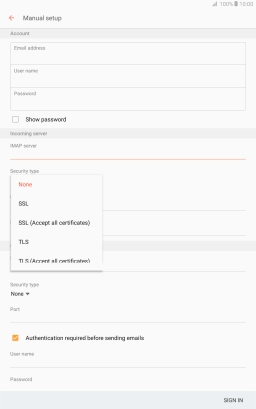
Turn off encryption of incoming email messages
Press the drop down list below "Security type".


Turn off encryption of incoming email messages
Press None to turn off the function.
Enter incoming port
Press the field below "Port" and key in 143.


Enter outgoing server
Press the field below "SMTP server" and key in the name of your email provider's outgoing server.


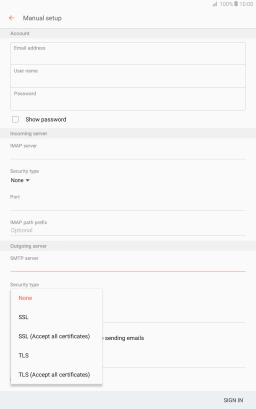
Turn off encryption of outgoing email messages
Press the drop down list below "Security type".


Turn off encryption of outgoing email messages
Press None to turn off the function.
Enter outgoing port
Press the field below "Port" and key in 25.


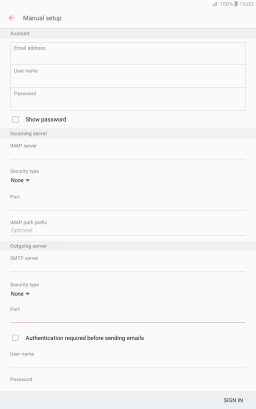
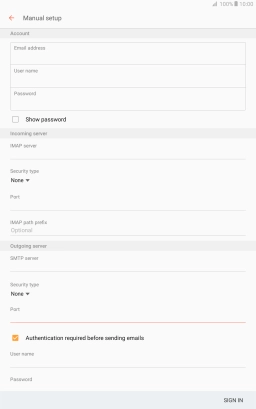
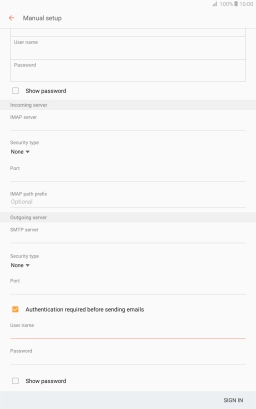
Turn SMTP authentication on or off
Press Authentication required before sending emails to turn the function on or off.


Turn SMTP authentication on or off
If you turn on SMTP authentication, press the field below "User name" and key in the username for your email account.


Turn SMTP authentication on or off
If you turn on SMTP authentication, press the field below "Password" and key in the password for your email account.


Turn SMTP authentication on or off
Press SIGN IN.


Return to the home screen
Press the Home key to return to the home screen.
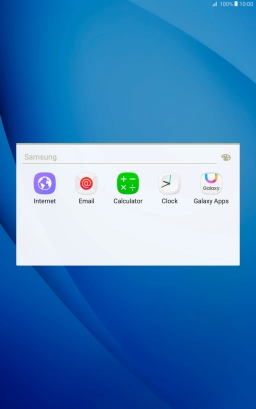
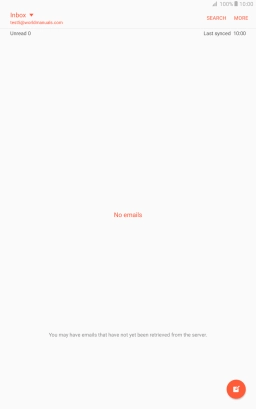
Find "Email"
Press Apps.


Find "Email"
Press Samsung.


Find "Email"
Press Email.


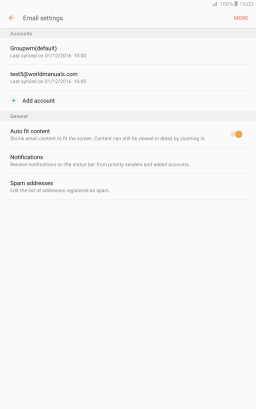
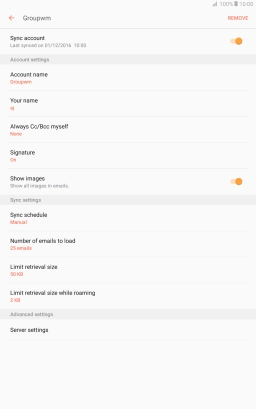
Turn on email message synchronisation
Press MORE.


Turn on email message synchronisation
Press the required email account.


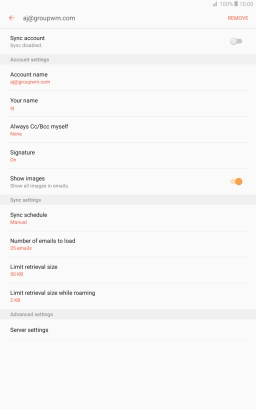
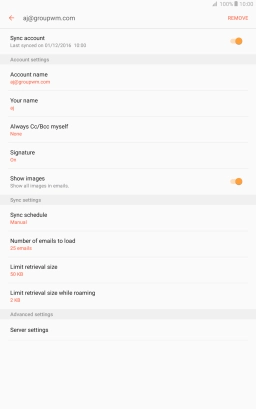
Turn on email message synchronisation
Press the indicator next to "Sync account" to turn on the function.


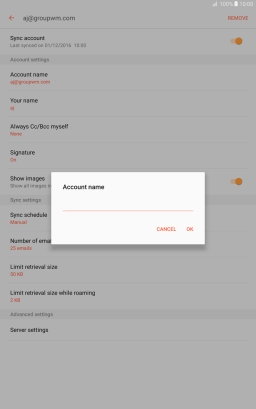
Enter email account name
Press Account name.


Enter email account name
Key in the required name for the email account and press OK.


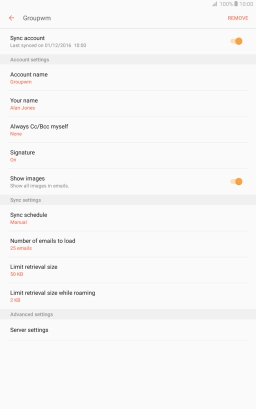
Enter sender name
Press Your name.
Enter sender name
Press Your name.


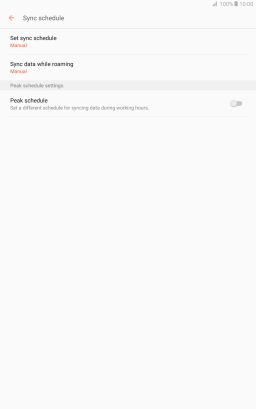
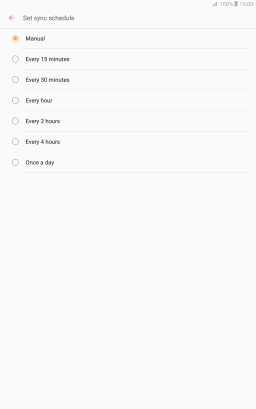
Select setting for retrieval of new email messages
Press Sync schedule.


Select setting for retrieval of new email messages
Press Set sync schedule.


Select setting for retrieval of new email messages
Press the required setting.
Return to the home screen
Press the Home key to return to the home screen.
1 Find "Accounts"
2 Create new email account
3 Enter email address
4 Enter password
5 Select server type
6 Enter username

7 Enter incoming server

8 Turn off encryption of incoming email messages
9 Enter incoming port
10 Enter outgoing server

11 Turn off encryption of outgoing email messages

12 Enter outgoing port
13 Turn SMTP authentication on or off
14 Return to the home screen
15 Find "Email"

16 Turn on email message synchronisation
17 Enter email account name
18 Enter sender name
19 Select setting for retrieval of new email messages
20 Return to the home screen