MobiWire Dakota


Find "E-mail"
Press the Navigation key.
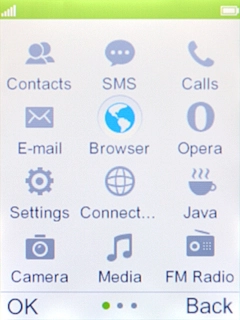
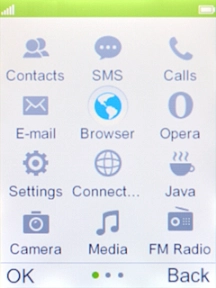

Find "E-mail"
Select E-mail.


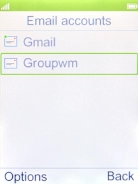
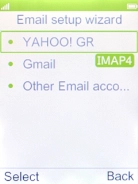
Create new email account
Press the Left selection key.


Create new email account
Select Other Email accounts.


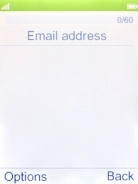
Enter email address
Highlight the field below "Email address" and key in your email address.
Enter email address
Press the Navigation key.


Enter email address
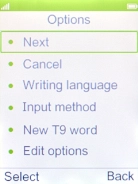
Select Next.


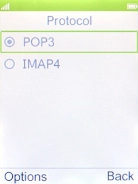
Select server type
Select POP3.


Select server type
Press the Navigation key.


Select server type
Select Next.


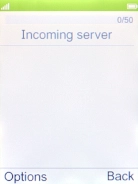
Enter incoming server
Highlight the field below "Incoming server" and key in the name of your email provider's incoming server.
Enter incoming server
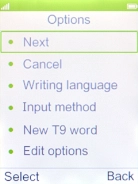
Press the Navigation key.


Enter incoming server
Select Next.


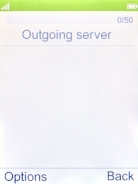
Enter outgoing server
Highlight the field below "Outgoing server" and key in the name of your email provider's outgoing server.
Enter outgoing server
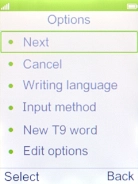
Press the Navigation key.


Enter outgoing server
Select Next.


Enter username
Highlight the field below "Username" and key in your username.
Enter username
Press the Navigation key.


Enter username
Select Next.


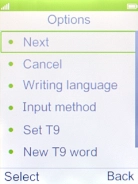
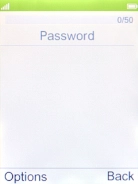
Enter password
Highlight the field below "Password" and key in your password.
Enter password
Press the Navigation key.


Enter password
Select Next.


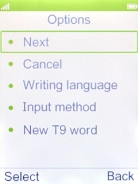
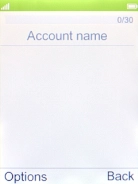
Enter email account name
Highlight the field below "Account name" and key in the required name.
Enter email account name
Press the Navigation key.


Enter email account name
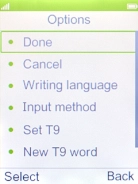
Select Done.


Return to the home screen
Press Disconnect to return to the home screen.
1 Find "E-mail"

2 Create new email account

3 Enter email address
4 Select server type
5 Enter incoming server
6 Enter outgoing server
7 Enter username

8 Enter password
9 Enter email account name
10 Return to the home screen